To install from the web:
| 1. | Download Asset Manager from the website at: http://www.kzsoftware.com/products/asset-management-software/trial.htm |
| 2. | Open/Run the setup file, AssetManagerStandardSetup.exe. or AssetManagerEnterpriseSetup.exe |
| 3. | Follow the instructions in the installation wizard to complete the installation. |
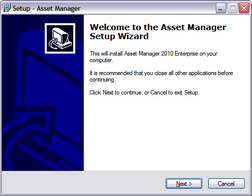
Open/Run the setup file to begin the Setup Wizard, and then click the Next button. |
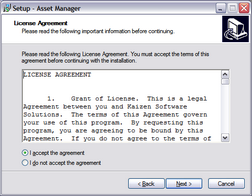
Read the license agreement, and then select "I accept the agreement" before clicking the Next button to continue. |
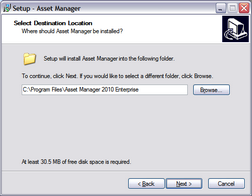
You may leave the default installation location selected, or select a different location if needed. |
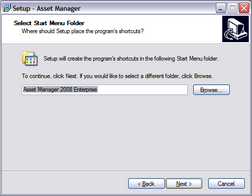
A shortcut will be created in the Start Menu Folder. Click the Next button to continue. |
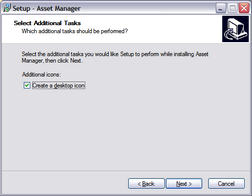
Leave the checkbox checked to create a desktop icon. Click the Next button to continue. |
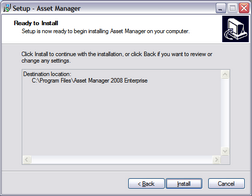
Click the Install button to begin the installation. |
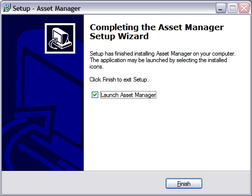
Click the Finish button and wait a few moments as the software initializes the first time. |
Also note: if your computer does not have the .NET2 framework installed already, the installer will automatically download and install it before continuing. |
To install on a PC without internet access:
| 1. | If the computer doesn't have the .NET 2 Framework installed, download it onto a disk, flash drive, etc. and then install it. To check, you can look at the Add/Remove programs list in Windows and look for an entry "Microsoft .NET Framework 2.0". The .NET Framework can be downloaded at the link below: .NET 2 |
| 2. | After confirming or installing the .NET Framework, install Asset Manager. |
| 3. | The setup file can be downloaded to another computer and then copied to a disk, flash drive, etc, by right-clicking on the download link for the Edition you need, and then selecting 'save target as' to download the setup file. Copy this file to the other computer and run the installation wizard. |
| 4. | After opening Asset Manager, enter your license key. |
